Related Tasks
Managing Formulas
To manage formulas:
- Click the Logged in as menu and click Admin
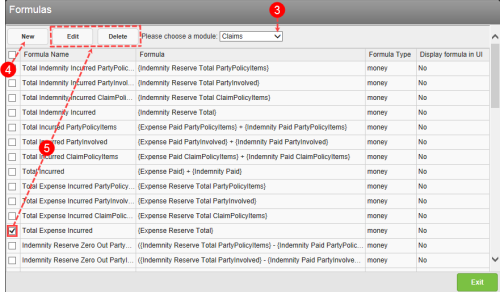
- Under the FormsA number of fields grouped together by sections to allow users to enter and store data related to a patient or employee event. You can define multiple forms for a module. Forms fall into two categories: submission forms (i.e. for front line entry users) and management forms (i.e. for file manager users). Management forms contain the same data as submission forms with added sections for follow-up investigations and resolutions and outcomes. and Fields heading, click the Formulas link (not shown).
- Select a Module to view the associated formulas.
- Note: In RL6:Claims, when the Display formula in UI is set to
Yes, the results of this formula can be viewed in the Transaction grid. SelectCustom Totalsfrom the View list. - Click New to create a new formula. The New Formula
- Select a formula and click one of the following action buttons:
- Edit – to view the formula’s details.
- Delete – to remove the formula. You must click Yes to confirm the deletion.
- Caution! You should not delete formulas that are used on forms. This may cause issues with the form and reports that rely upon them.